The exposure triangle describes how three camera settings, aperture, shutter speed and ISO, work together to control how bright a photo is. Changing one setting affects the exposure, so you balance it with the others, and each setting also changes the look of the picture. This Almawadahit.com guide explains each side of the triangle in plain language and gives starting settings for common situations.
Key Takeaways
- Aperture controls how much light enters the lens and how much of the scene is sharp.
- Shutter speed controls how long light reaches the sensor and how motion looks.
- ISO controls the sensor’s sensitivity; higher ISO adds brightness but also noise.
- One “stop” doubles or halves the light, whichever setting you change.
What Is Exposure?
Exposure is the amount of light that reaches your camera’s sensor (or film). Too little light gives a dark, underexposed image; too much gives a bright, overexposed image where highlights lose detail.
Photographers measure changes in light in “stops”. Moving one stop doubles or halves the amount of light. The overview of photographic exposure on Wikipedia explains the underlying maths in more detail.
Aperture: The Size of the Opening
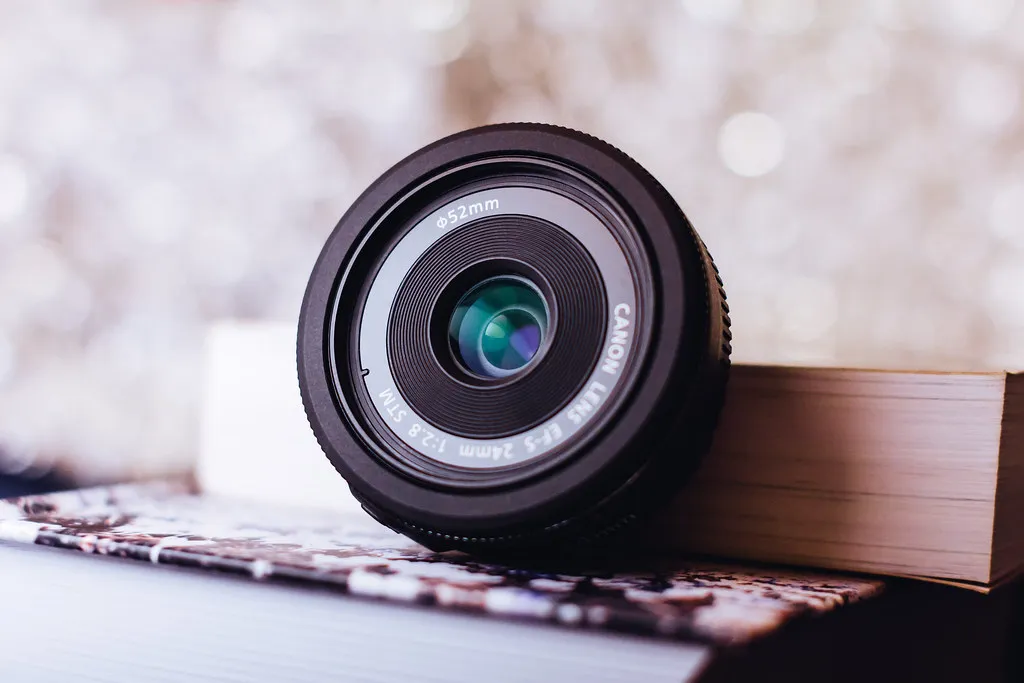
The aperture is an adjustable opening inside the lens, measured in f-numbers such as f/2.8, f/5.6 or f/11. Confusingly, a smaller f-number means a wider opening and more light.
- Wide aperture (for example f/1.8 to f/2.8): lets in lots of light and creates a shallow depth of field, with a blurred background that suits portraits.
- Narrow aperture (for example f/8 to f/16): lets in less light and keeps more of the scene sharp, which suits landscapes.
The standard full-stop sequence is f/1.4, f/2, f/2.8, f/4, f/5.6, f/8, f/11, f/16 and f/22. Each step halves the light, as explained in the article on the f-number.
Shutter Speed: How Long the Light Gets In
Shutter speed is the length of time the shutter stays open, written in seconds or fractions of a second, such as 1/1000, 1/125 or 2 seconds.
Freezing Motion
Fast speeds such as 1/500 or 1/1000 freeze moving subjects, which is ideal for sports, children and pets.
Showing Motion
Slow speeds blur movement, turning waterfalls silky or car lights into streaks. Below about 1/60, many people need a tripod or image stabilization to avoid camera shake.
ISO: The Sensor’s Sensitivity
ISO sets how sensitive the sensor is to light. Low values such as ISO 100 give the cleanest images in good light. Doubling the ISO, for example from 400 to 800, adds one stop of brightness, but higher ISO also adds visible grain, called noise. Modern cameras handle higher ISO well, but it is still best to use the lowest ISO that gives a sharp, well-exposed photo.
How the Three Settings Work Together
Because each setting can add or remove a stop of light, you can reach the same exposure in different ways. If you open the aperture by one stop, you can use a shutter speed one stop faster and get the same brightness.
| Setting | To Make the Photo Brighter | Side Effect |
|---|---|---|
| Aperture | Use a smaller f-number (wider opening) | Shallower depth of field |
| Shutter speed | Use a slower speed | More motion blur and risk of shake |
| ISO | Use a higher ISO | More noise |
Starting Settings for Common Situations
These are starting points, not rules; check your results and adjust. Here at Almawadahit.com we suggest changing one setting at a time so you can see its effect.
- Portrait in daylight: aperture f/2 to f/4, shutter 1/250, ISO 100 to 200.
- Landscape on a tripod: aperture f/8 to f/11, shutter as needed, ISO 100.
- Sports or pets: shutter 1/500 or faster, wide aperture, ISO raised as needed.
- Night city scene on a tripod: aperture f/8, shutter several seconds, ISO 100 to 400.
Famous landmarks lit at night are a great place to practise. Our story of the Eiffel Tower shows one of the most photographed, and you’ll find more true stories in the Stories section.
Exposure is only half of a great photo; the other half is where you place things in the frame. Continue with our guide to photo composition rules and browse more tutorials in the Photography category.
Using Your Camera’s Semi-Automatic Modes
You don’t need full manual mode to use the exposure triangle. Most cameras offer semi-automatic modes that let you control one side while the camera handles the rest:
- Aperture priority (A or Av): you choose the aperture, and the camera picks the shutter speed.
- Shutter priority (S or Tv): you choose the shutter speed, and the camera picks the aperture.
- Auto ISO: the camera raises or lowers ISO within limits you set.
If a photo looks too dark or bright in these modes, use exposure compensation, often marked +/−, to tell the camera to make the next shot brighter or darker.
Frequently Asked Questions
What Is the Exposure Triangle in Simple Terms?
It is a way of picturing how aperture, shutter speed and ISO combine to set a photo’s brightness. Each setting controls light in a different way and also affects the look of the image: aperture changes depth of field, shutter speed changes motion blur, and ISO changes the amount of noise.
Which Setting Should I Change First?
Start with the setting that matters most for your subject. For portraits, choose the aperture first to control background blur. For moving subjects, set the shutter speed first to freeze or show motion. Then adjust ISO to reach a good exposure, keeping it as low as the light allows.
Why Are My Night Photos Blurry?
At night, cameras often use slow shutter speeds to gather enough light, and any hand movement during the exposure creates blur. Use a tripod or rest the camera on a steady surface, turn on image stabilization, or raise the ISO and open the aperture so you can use a faster shutter speed.
Does the Exposure Triangle Apply to Phone Cameras?
Yes, the same principles apply, although most phones have a fixed aperture and handle settings automatically. Many phone cameras offer a manual or pro mode that lets you adjust shutter speed and ISO. Understanding the triangle helps you predict why a phone photo looks blurry, dark or grainy.
Final Thoughts
Once you understand how aperture, shutter speed and ISO trade light against each other, you can control not just brightness but the whole feel of a photo. Practise with one setting at a time and review your results. For more photography guides, visit Almawadahit .com USA.